前面两篇(1 ,2),我们讲述了NGINX在authorization code模式下的能力,可以简单总结为NGINX既可以作为第三方应用(client)的验证代理,也可以作为Resource server角色对token进行验证或使用。在implicit模式下,NGINX能做什么呢?首先来看implicit模式的工作机制(最近太惨了,前两篇文章的画图ppt给不小心删除了,还清空了垃圾箱。。一般不没什么习惯清空垃圾箱的。。。就不重新画了,google一张图吧。。。)
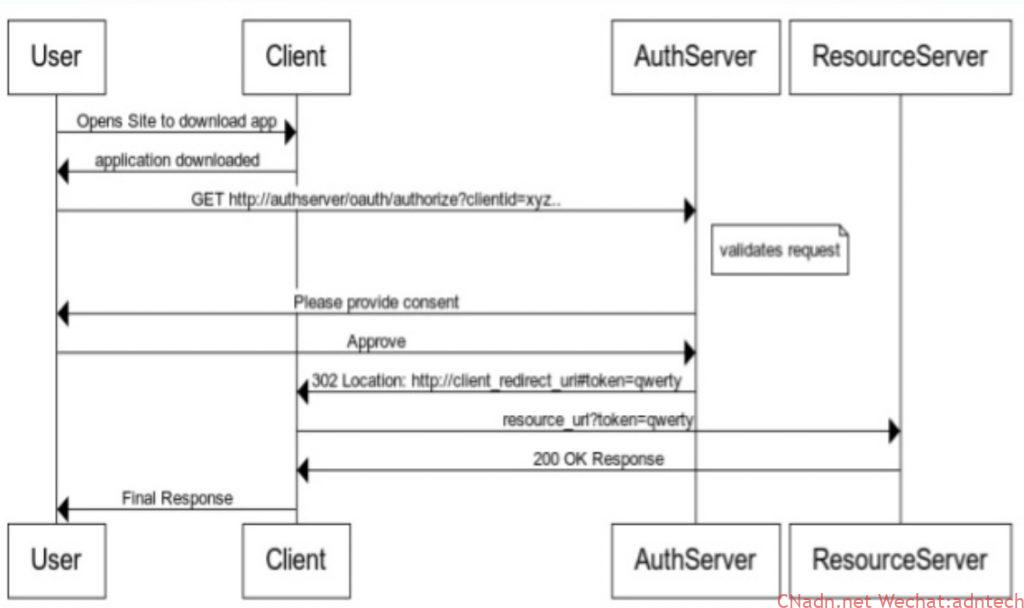
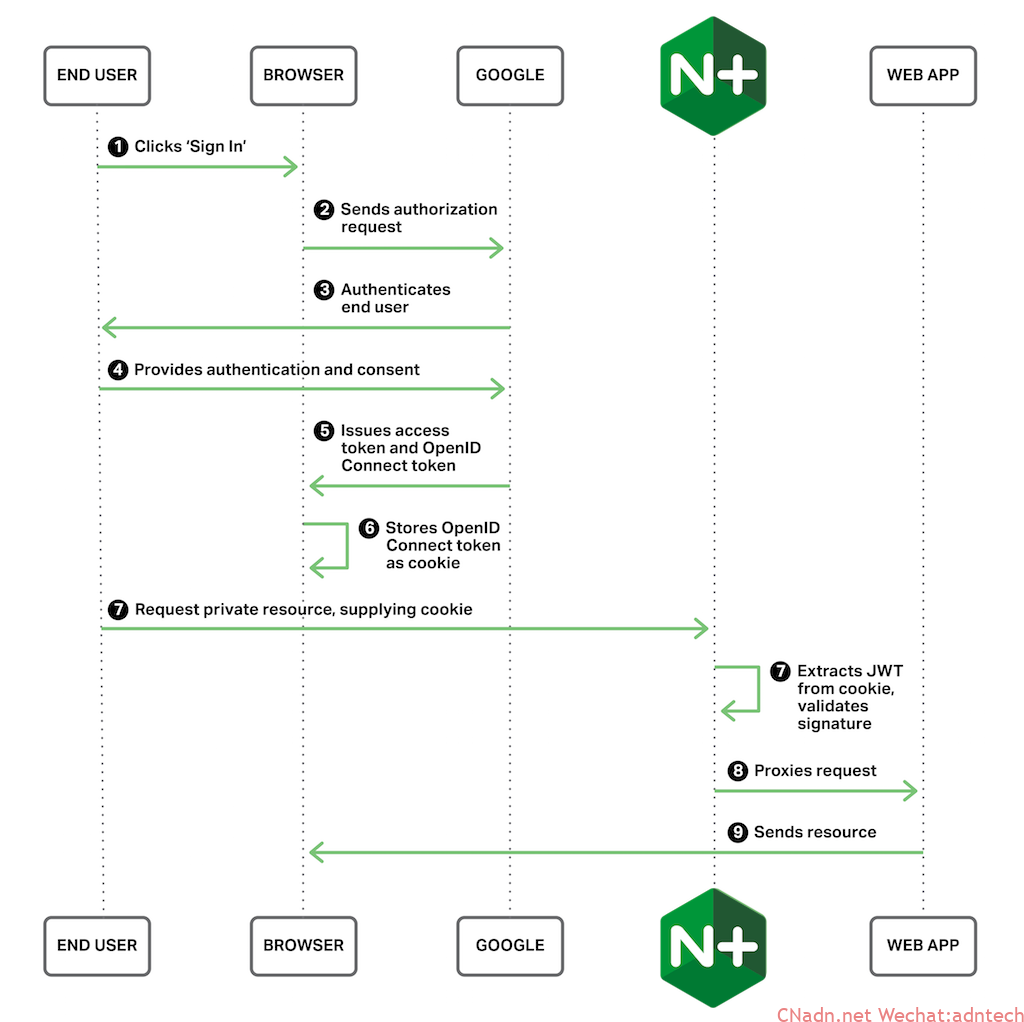
在这个图里,把user想象你为,把client想象为一个浏览器然后从一个地方加载了一段纯浏览器本地运行的代码(比如react,angularJS什么的这些的纯前端实现),不需要服务器侧介入。可以看出这个过程比authorization code最大的特点就是少了server侧利用authorization code去取token的过程,授权服务器直接直接将token发给了浏览器,所以这也叫frontchannel模式,客户端是真的可以看到token的。显然在整个验证过程中,NGINX是没有什么机会介入的。因此在这种模式下,NGINX主要作为Resource Server的代理,帮助去验证相关token,并将必要的token内的信息传递后后端的服务器。
所以只要客户端浏览器将token通过合适的方式送给NGINX就可以。
Token有两种格式,一种是常见的JWT,这是一种可以offline 验证的,而且其内容是可以被直接解开的,因此对这种JWT格式的token,只需要借助NGINX的 JWT模块就可以无需验证服务器endpoint参与(NGINX上配置公开的JWK即可);另一种格式是一种私有格式,也就是非透明格式(Opaque),这种格式的token需要有验证端点来参与,这个验证过程就是所谓的token introspection(RFC7662)
在本篇实验里将基于google的JWT token方式。
Demo
前面的implicit模式的oAuth过程是通过goole提供的一个JS API写的,并使用了cookie.js API将客户端浏览器收到的access token转化存储到cookie里,后续浏览器带着这个Cookie来访问资源服务器(被NGINX代理)
1.准备工作,在网站的目录下放置用于客户端运行的代码以及相关的cookie.js文件
|
1 2 3 4 5 6 7 |
[root@plus1 oidc]# ll total 12 -rw-r--r-- 1 root root 1446 May 9 14:37 index.html -rw-r--r-- 1 root root 4772 May 9 12:28 js.cookie.js [root@plus1 oidc]# pwd /usr/share/nginx/html/oidc [root@plus1 oidc]# cat index.html |
html文件内容如下:
|
1 2 3 4 5 6 7 8 9 10 11 12 13 14 15 16 17 18 19 20 21 22 23 24 25 26 27 28 29 30 31 32 33 34 35 36 37 38 39 |
<html> <head> <meta http-equiv="cache-control" content="no-cache" /> <meta http-equiv="expires" content="0" /> <title>NGINX OpenID Connect demo</title> <!--google的js API用于和授权服务器通信并获取返回的token--> <script src="https://apis.google.com/js/platform.js" async defer></script> <meta name="google-signin-scope" content="profile email"> <!--这里配置你的client securit--> <meta name="google-signin-client_id" content="423878601740-s7dvt2ic*******kcmih1cq2l.apps.googleusercontent.com"> <!--cookie js 用于实现将token写为cookie . 具体可以从这里获取https://github.com/js-cookie/js-cookie/blob/v2.1.2/src/js.cookie.js--> <script src="js.cookie.js"></script> </head> <body> <h2>NGINX OpenID Connect demo</h2> <hr/> <h3>Login with a Google account to get my <a href="/mysecurit/">MY SECURIT</a>.</h3> <table><tr><td> <div class="g-signin2" data-onsuccess="onSignIn" data-theme="dark"></div></td> <script> function onSignIn(googleUser) { var profile = googleUser.getBasicProfile(); Cookies.set('auth_token', googleUser.getAuthResponse().id_token); document.getElementById('google_signout').innerHTML = '<a href="#" onclick="signOut();"><img src="' + profile.getImageUrl() + '" width=32 height=32>Sign out</a>'; }; function signOut() { var auth2 = gapi.auth2.getAuthInstance(); auth2.signOut().then(function () { Cookies.remove('auth_token'); document.getElementById('google_signout').innerHTML = ''; }); } </script> <td><div id="google_signout"></div></td> </tr></table> <hr/> </body> </html> |
2.访问oidc.cnadn.net/mysecurit 请求抵达NGINX后,命中以下配置。配置使用JWT模块进行认证,客户端是通过将token放在auth_token这个Cookie传上来。这里要配置google公开的jwk文件来做验证,google JWK文件会定期轮换,所以这里需要自己额外配置cronjob定期去https://www.googleapis.com/oauth2/v3/certs 做更新。这是offline验证的缺点。 这里也可以将auth_jwt_key_file配置改为 auth_jwt_key_request https://www.googleapis.com/oauth2/v3/certs;采取线上认证。但由于环境里的NGINX机器并无不能爬梯子,所以只有用本地文件了
|
1 2 3 4 5 6 7 8 9 |
location /mysecurit { auth_jwt "Google account" token=$cookie_auth_token; auth_jwt_key_file /etc/nginx/google_certs.jwk; proxy_set_header x-jwt-email $jwt_claim_email; proxy_set_header x-jwt-name $jwt_claim_name; proxy_set_header x-jwt-locale $jwt_claim_locale; #root /usr/share/nginx/html; proxy_pass http://127.0.0.1:8080; } |
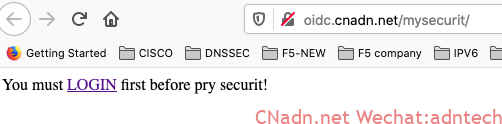
3.由于首次访问不带cookie,因此jwt验证无法通过,将返回401错误,401错误将会被以下配置截获并处理。浏览器最终得到一个要求登录的提示。
|
1 2 3 4 5 |
error_page 401 = @401; location @401 { default_type text/html; return 200 '<html><head><meta http-equiv="Content-Type" content="text/html; charset=utf-8"><title>OIDC loging redirect</title></head><body>You must <a href=/oidc/>LOGIN</a> first before pry securit!</boyd></html>'; } |
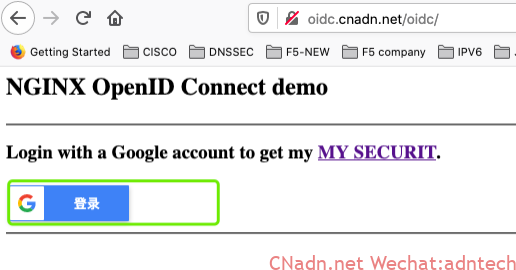
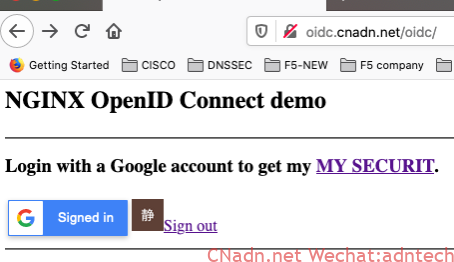
4. 用户点击登录提示里的LOGIN,页面会显示第一步中配置的html内容,由于用户尚未登录,因此google的API也无法取到用户的信息,因此提示客户最终登录GOOGLE(上述3,4两部存在两次引导登录过程,这里只是为了测试,实际可以将这个过程合并为一个)
5. 用户在Google的登录界面登录后,页面将自动获取到用户信息状态(google的API实现的),同时token被写入到cookie
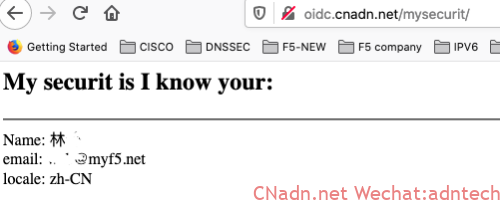
6. 用户再次访问oidc.cnadn.net/mysecurit, 这次带了auth_token Cookie上来,因此JWT开始验证,如果通过则显示最终内容,即http://127.0.0.1:8080的内容:
|
1 2 3 4 5 6 7 |
location /mysecurit { default_type text/html; set $email $http_x_jwt_email; set $name $auth_resp_x_vouch_idp_claims_blog$http_x_jwt_name; set $locale $http_x_jwt_locale; return 200 '<html><head><meta http-equiv="Content-Type" content="text/html; charset=utf-8" /></head><h2>My securit is I know your:</h2><hr />Name: $name <br>email: $email <br>locale: $locale</html>'; } |
过程记录
总结
利用NGINX plus的JWT模块实现在implicit模式下,作为资源服务器的replying part来对token进行验证。
对本文的最后一个系列,关于NGINX代理资源服务器进行token introspection验证模式,由于只是token验证形式的不同,对于oAuth整个流程来说都一样的,因此就不再重复阐述了,请直接参考:
oauth2-token-introspection-plus Plus可以将验证临时缓存在内存里,加速性能
oauth2-token-introspection-oss
Validating OAuth 2.0 Access Tokens with NGINX and NGINX Plus


文章评论